Floral Skull Cookies
Serves 12 people
Baking Ingredients
125 g butter or margarine
55 g caster sugar
180 g plain flour, sieved
Extra flour to dust work surface
Decorating Ingredients
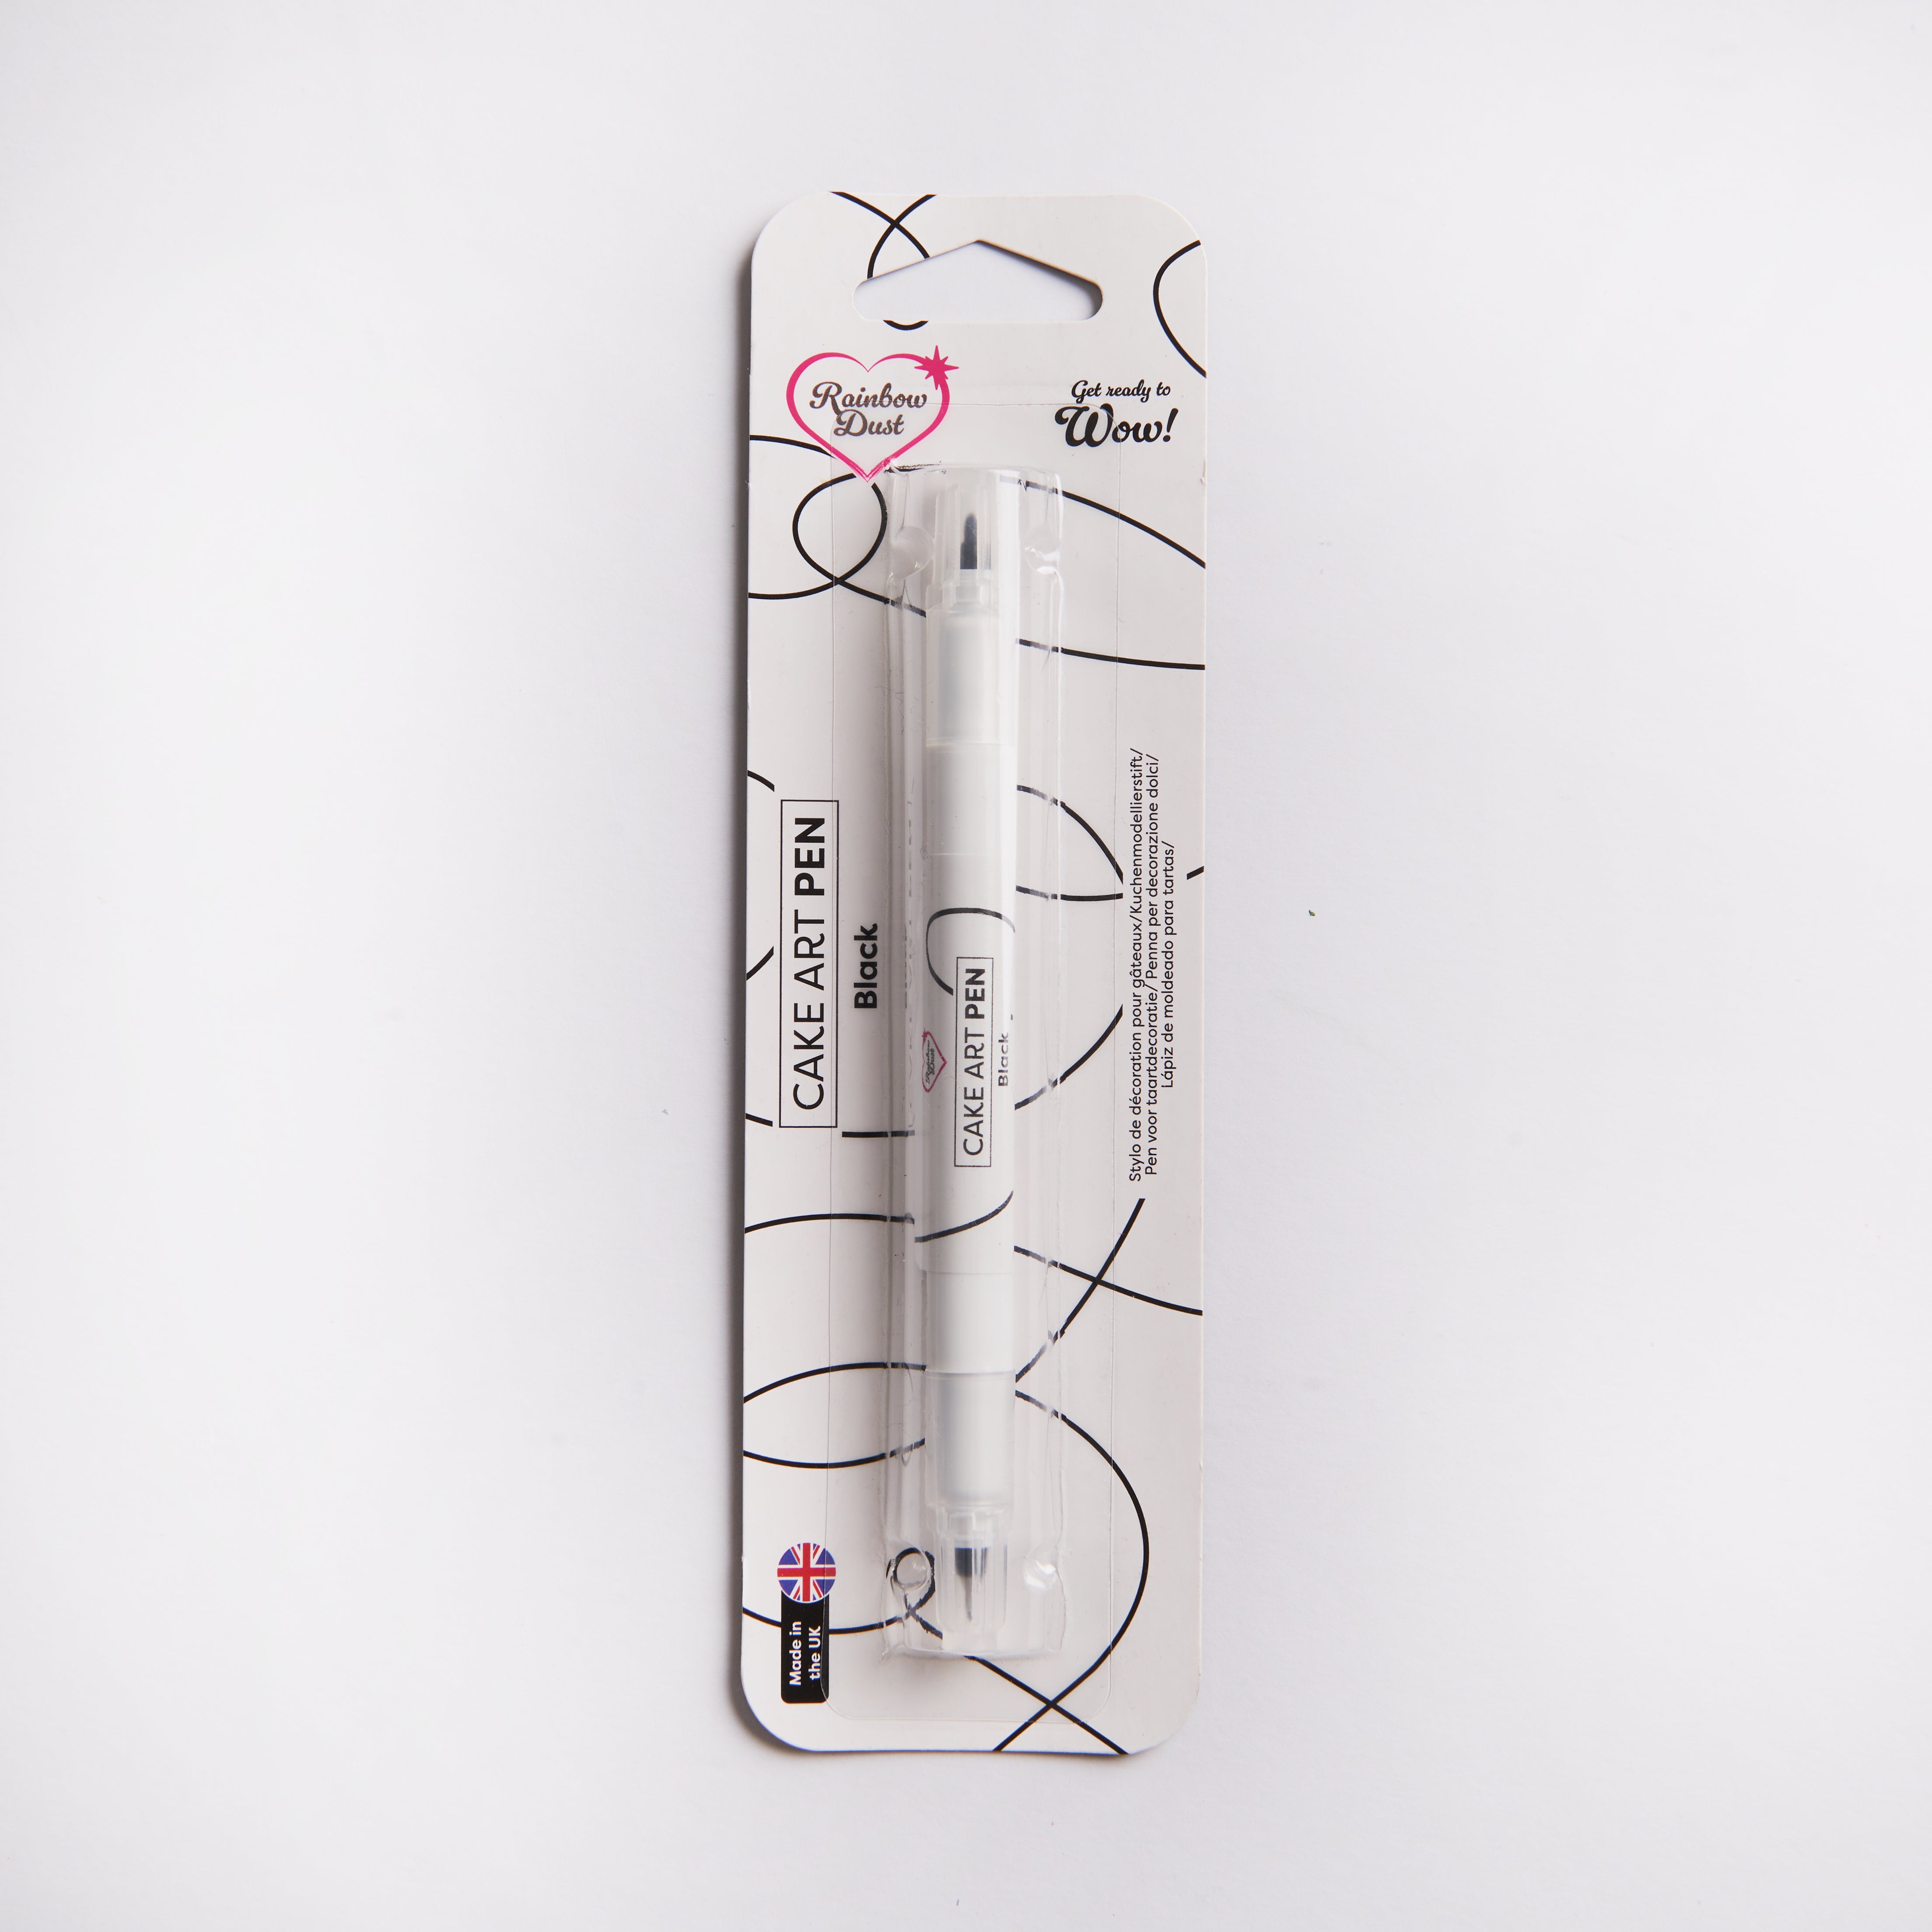
1 Rainbow Dust Cake Craft Pen- Black
500 g White Renshaw ‘Just Roll With It’ Fondant Icing
250 g Tiger Orange Renshaw ‘Just Roll With It’ Fondant Icing
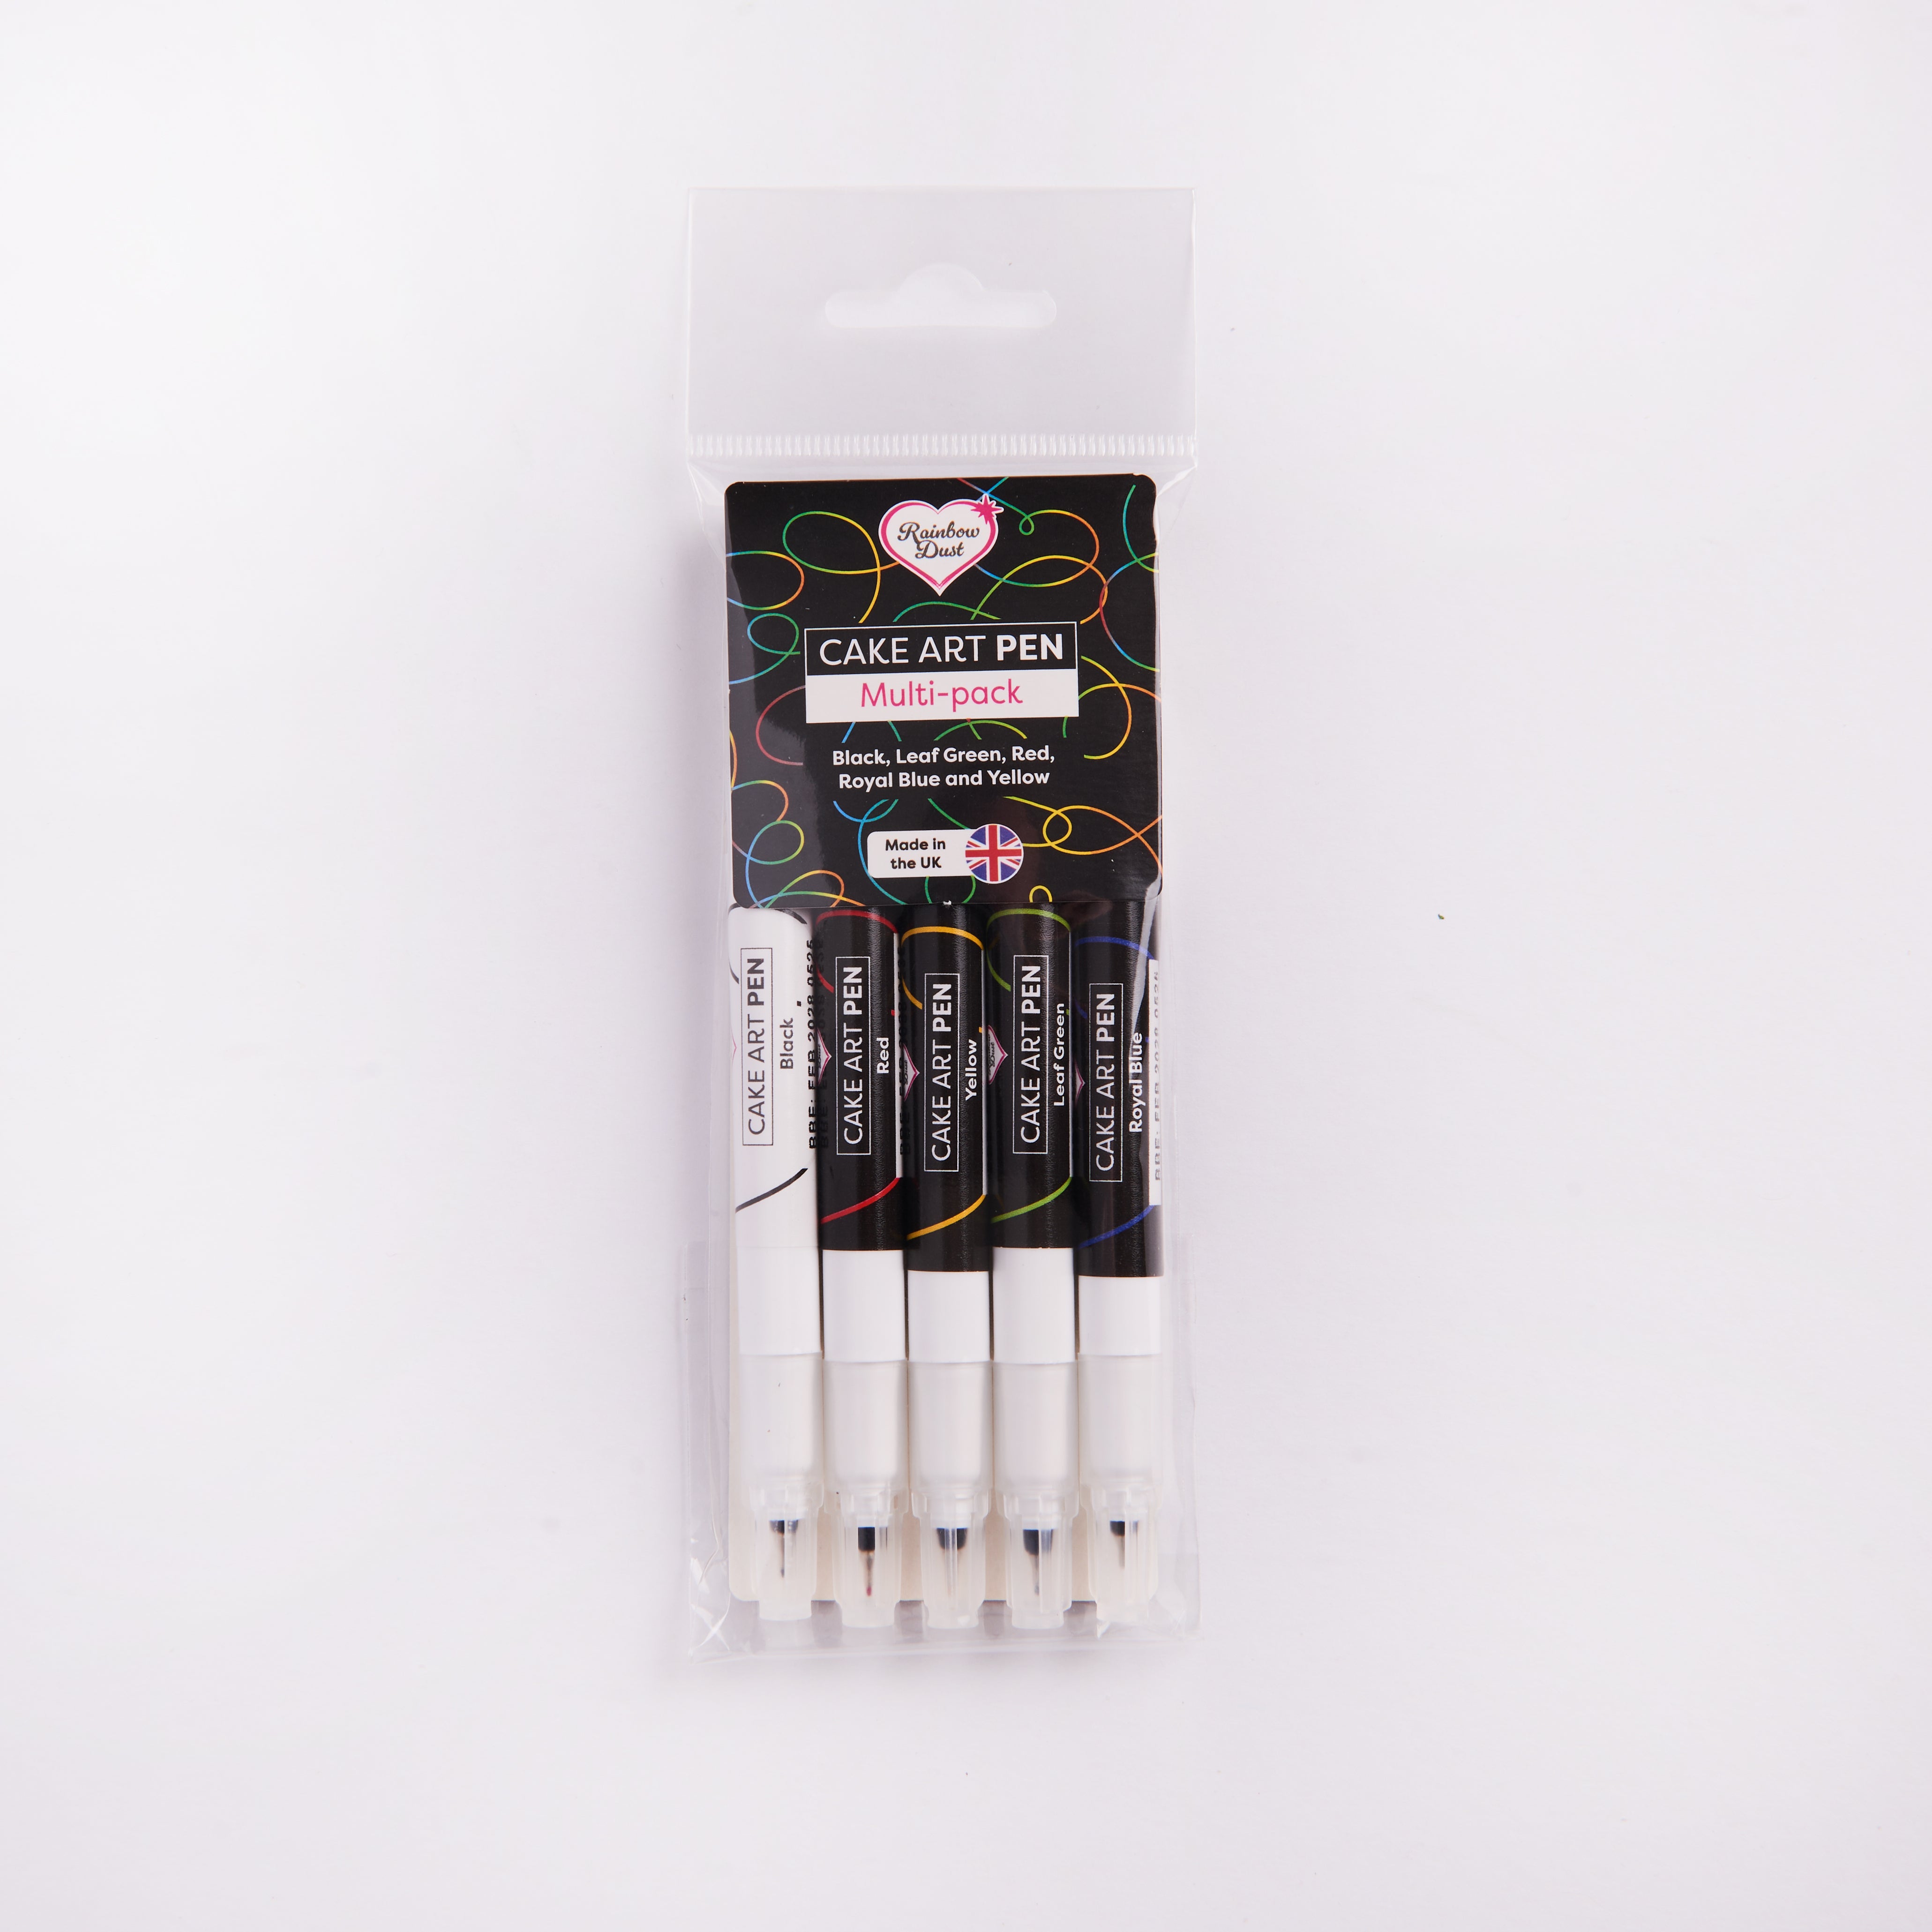
5 pack Rainbow Dust Double-ended Edible Food Pen
Icing sugar to dust the work surface
Apricot jam, boiled and cooled
Products from us
Instructions
Step 1
Prepare the following equipment: lined baking tray, rolling pin, pastry brush, scissors, sharp knife, skull shaped template, small circle cutters, small heart shaped cutter, mouth shaped template.
Baking the shortbread:
Step 2
Pin out the dough on a clean surface lightly dusted with flour. Cut as many shapes as required using the Skull shaped template and a sharp knife.
Step 3
Place the shapes on a greased and lined baking tray and bake in the oven for 15 to 20 minutes until golden brown.
Step 4
Remove from the oven and allow to cool on a wire rack. Clean utensils and work surface. Prepare the biscuits by brushing over the surface with a thin layer of apricot jam.
Decorating the biscuits:
Step 5
On a clean, dry surface knead the White Icing until pliable.
Step 6
Dust the work surface with icing sugar and pin out the icing until 2-3mm thick.
Step 7
Using the same Skull shaped template used for the biscuit dough, cut shapes out of the pinned out icing with a knife and place onto the prepared biscuits, gently smooth down with the palm of your hand.
Step 8
Before the icing has time to set, cut out circles for the eyes and an upside-down heart shape for the nose. Then, using the circle cutters again, cut out two larger circles side by side and two smaller ones either side of these to create teeth. Or, use the mouth shaped template and cut around it with a sharp knife.
Step 9
On a clean, dry surface knead the Tiger Orange Icing (or colour of choice) until pliable. This icing can be blended with white in different ratios to create a variety of orange shades.
Step 10
Dust the work surface with icing sugar and pin out the icing until 2-3mm thick.
Step 11
Cut out shapes using the same cutters as used to cut out the eyes, nose and mouth and insert these into the white icing.
Step 12
Once the icing has completely set, decorate the biscuits using the Rainbow Dust Double-Ended Edible Food Pens.


